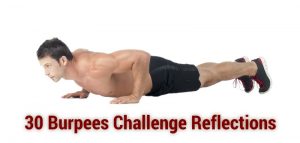
Tick, tock, tick, tock… Time to get started in calisthenics from the comfort of your own home. Even if you’re a total beginner who’s not physically active, this training guide will help you build basic strength and technique.
Training Summary
| Summary | Details |
|---|---|
| Main Goal | Help the physically inactive start (or restart) their calisthenics journey |
| Activity Type | Full Body |
| Training Level | Beginner / Physically Inactive |
| Program Duration | 30 days (alternate days) |
| Time Per Session | 45 to 70 min (with rest in between) |
| Equipment Required | Pull up bar |
Disclaimer & warning
Easy 4-Week Bodyweight Workout is provided for informational purposes only. We do not assume liability for any injuries or damages that may occur as a result of following this guide. Participants engage at their own risk. Always exercise caution and consult with a medical professional before beginning any new fitness program.
1 – Take This Basic Calisthenics Test First

Before you get started, take this test to check if this complete beginner calisthenics training guide is suitable for you. If you fail to complete the test in proper form using the regular form of the exercises (and without use of momentum), use the training guide to build your calisthenics strength and form.
Make sure to keep a record of how you did in the test. We’ll use that as a basis to improve your standard.
Test Passing Standards
| Exercise | Sets | Reps |
|---|---|---|
| Standard Push Ups | 2 | 10 |
| Flat Leg Raises | 2 | 10 |
| Regular Pull Ups | 2 | 1 |
| Deep Squats | 2 | 10 |
| Straight Bridges | 2 | 10 |
For full instructions on how to perform the exercises (and see easier progressions of each exercise), scroll to the progression section.
Test Guidelines
- Maintain Proper Form: You must perform all exercises with proper form. This means not arching your body when doing push ups, not kipping when performing pull ups, and so on. All exercise movements must be controlled. You’re not allowed to use momentum or bounces. If you have to cheat to pass, you fail.
- Limit Rest Time: Take no more than 2 minutes of rest between each set and no more than 4 minutes between each exercise. Anything more means failure.
If you’re unable to do an exercise, you fail. However, do try an easier version of it and record the number of repetitions you’ve performed. The key is to improve over time.
Assuming you will be using the training guide to improve your score, welcome and let’s get started.
2 – Calisthenics Routine & Training Guide for Physically-Inactive Beginners

Your Mission
In 30 days, aim to improve your test standard. Significant improvement is the goal, even if you can’t yet perform certain exercises. You get bonus points if you manage to pass the test, especially if you aren’t able to perform regular pull ups.
Training Guidelines
While not everyone begins with the same ability and strength, let’s follow these guidelines:
- Start with the standard form of each exercise. Drop to an easier progression if you lose form.
For example, if you can no longer do standard push ups, do knee-supported push ups or inclined push ups. - Take 1-2 minutes breaks between sets and up to 3 minutes between exercises. Reduce break times in later weeks for more challenge.
Warm Up
Your warm up involves doing easier progressions of the five exercises. So, whichever level you’re at, drop to an easier level when warming up. For example, if you’re able to do regular pull ups, do horizontal pulls as your warm up.
| Warm up | Description | Sets | Reps | Rest Time |
|---|---|---|---|---|
| Jog/Run | Light jog or run to warm up the body | 1 | 3-5 mins | |
| Push Ups | Drop one progression level | 2 | 5 | 1-2 mins |
| Pull Ups | Drop one progression level | 2 | 5 | 1-2 mins |
| Leg Raises | Drop one progression level | 2 | 5 | 1-2 mins |
| Squats | Drop one progression level | 2 | 5 | 1-2 mins |
| Bridges | Drop one progression level | 2 | 5 | 1-2 mins |
The Routine
Pick the highest progression of each exercise that you can perform with proper form. At any moment you lose form, drop to an easier progression of the exercise, and continue.
For pull ups, it is acceptable to do halfway pull ups as an easier progression for full pull ups. So, for instance, if you find yourself struggling on your last pull up, just pull up as high as you can.
To reiterate, the highest progression for each exercise in this routine is as follows:
- Standard Push Ups
- Flat Leg Raises (aka. Lying Leg Raises)
- Regular Pull Ups
- Deep Squats
- Straight Bridges
Week 1
Do this routine on Day 1, 3, 5 and 6.
| Exercise | Sets | Reps | Rest Time |
|---|---|---|---|
| Push Ups | 3 | 6 | 1-2 mins |
| Leg Raises | 3 | 6 | 1-2 mins |
| Pull Ups (if it’s horizontal pulls – 6 reps) | 3 | 3 | 1-2 mins |
| Squats | 3 | 6 | 1-2 mins |
| Bridges | 3 | 6 | 1-2 mins |
Rest on Day 2, 4 and 7.
Week 2
Same thing. But, we’re alternating the repetitions.
Do this routine on Day 1 and 4.
| Exercise | Sets | Reps | Rest Time |
|---|---|---|---|
| Push Ups | 3 | 6 | 1-2 mins |
| Leg Raises | 3 | 6 | 1-2 mins |
| Pull Ups (if it’s horizontal pulls – 6 reps) | 3 | 3 | 1-2 mins |
| Squats | 3 | 6 | 1-2 mins |
| Bridges | 3 | 6 | 1-2 mins |
Do this routine on Day 2 and 5.
| Exercise | Sets | Reps | Rest Time |
|---|---|---|---|
| Push Ups | 3 | 9 | 1-2 mins |
| Leg Raises | 3 | 9 | 1-2 mins |
| Pull Ups (if it’s horizontal pulls – 6 reps) | 3 | 3 | 1-2 mins |
| Squats | 3 | 9 | 1-2 mins |
| Bridges | 3 | 9 | 1-2 mins |
Rest on Day 3, 6 and 7.
Week 3
Same thing, except for pull ups. Increase repetitions. Halfway pulls are acceptable if you can no longer do full pull ups. Kipping is not acceptable.
Do this routine on Day 1, 2, 4 and 5.
| Exercise | Sets | Reps | Rest Time |
|---|---|---|---|
| Push Ups | 3 | 9 | 1-2 mins |
| Leg Raises | 3 | 9 | 1-2 mins |
| Pull Ups (if it’s horizontal pulls – 9 reps) | 3 | 6 | 1-2 mins |
| Squats | 3 | 9 | 1-2 mins |
| Bridges | 3 | 9 | 1-2 mins |
Rest on Day 3, 6 and 7.
Week 4
This week is a five-day week. The routine on Day 4 and 5 goes beyond the test standard to challenge your strength.
Do this routine on Day 1, 2 and 7.
| Exercise | Sets | Reps | Rest Time |
|---|---|---|---|
| Push Ups | 3 | 9 | 1-2 mins |
| Leg Raises | 3 | 9 | 1-2 mins |
| Pull Ups (if it’s horizontal pulls – 9 reps) | 3 | 6 | 1-2 mins |
| Squats | 3 | 9 | 1-2 mins |
| Bridges | 3 | 9 | 1-2 mins |
Do this routine on Day 4 and 5.
| Exercise | Sets | Reps | Rest Time |
|---|---|---|---|
| Push Ups | 3 | 12 | 1-2 mins |
| Leg Raises | 3 | 12 | 1-2 mins |
| Pull Ups (if it’s horizontal pulls – 9 reps) | 3 | 6 | 1-2 mins |
| Squats | 3 | 12 | 1-2 mins |
| Bridges | 3 | 12 | 1-2 mins |
Take Day 7 of Week 4 is your test. This time round, you need to complete your warm up before attempting the test.
3 – Basic Exercises & Easier Progressions

There are five basic calisthenics exercises that work all your major muscle groups. These exercises build the foundation for advanced calisthenic and parkour feats:
- Push ups
- Pull ups
- Leg raises
- Squats
- Bridges
Each exercise has various progressions of different levels of difficulty to match your ability. For example, regular push ups are more challenging than wall push ups; full bridges are less easy to perform than straight bridges.
Adjust the progression to your level to maintain proper form and avoid injury. There’s no point in doing half-assed push ups with terrible form.
Calisthenics Exercise Progression Levels
The exercises are listed from the most difficult to the easiest. This way, you can start at the level that suits your current ability and progress as you get stronger.
Because the guide is meant for newbies, the most difficult exercise progression will only be the regular forms of the exercise (e.g. regular push ups instead of handstand push ups).
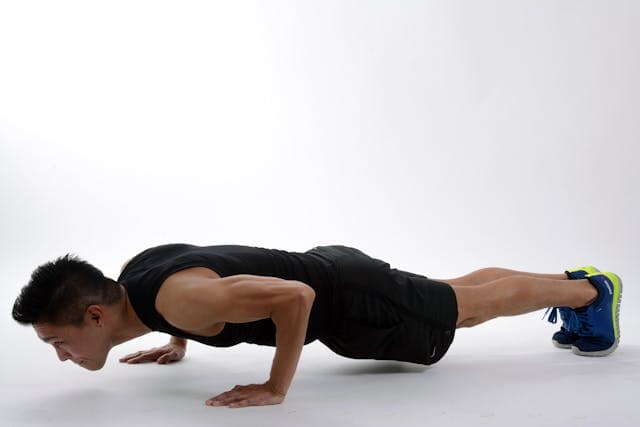
Push Ups Progressions
No matter the progression, keep your hands at shoulder-width apart. And, control your movement. Don’t let your arms flare out sideways.

| Rank in Difficulty | Exercise | Description |
|---|---|---|
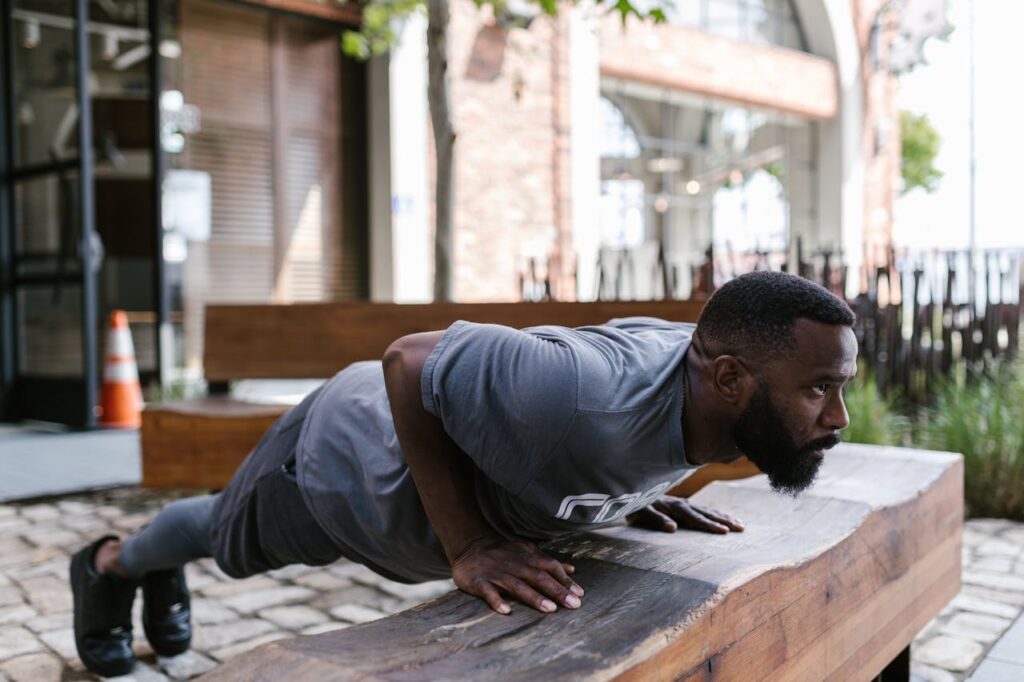
| 1 | Regular Push Ups | Place your hands shoulder-width apart on the ground, keep your body straight, and perform push ups by bending your elbows. |
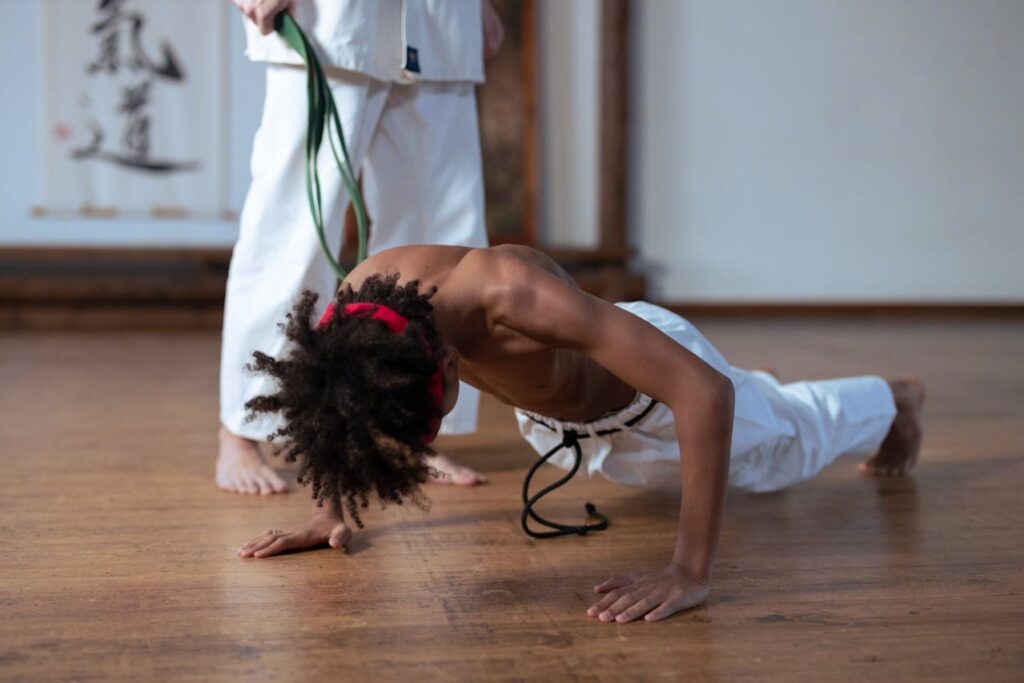
| 2 | Knee Push Ups | Perform push ups with your knees on the ground. Keep your body straight from your knees to your head. |
| 3 | Incline Push Ups | Use a sturdy surface like a bench or a table. Place your hands on the surface, keep your body straight, and perform push ups. |
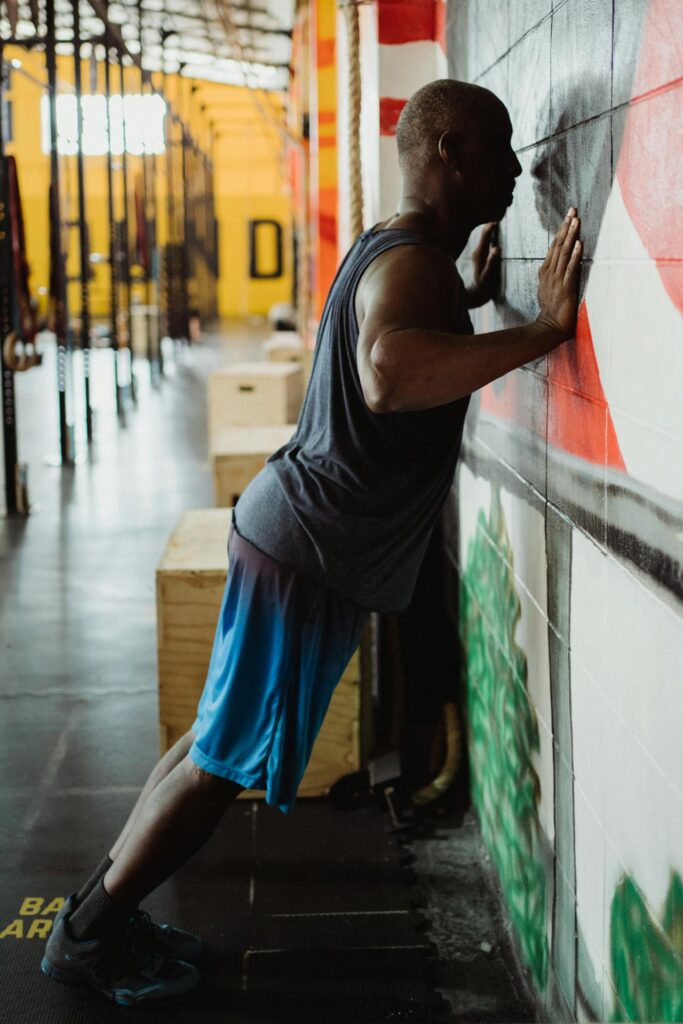
| 4 | Wall Push Ups | Stand facing a wall, place your hands shoulder-width apart on the wall, and perform push ups by bending your elbows. |
Pull Ups Progressions
Pull ups should not be done with kipping or bounce momentum. Keep your arms at shoulder-width apart. Grip the bar with your palms facing away from you (pronated grip).

| Rank in Difficulty | Exercise | Description |
|---|---|---|
| 1 | Regular Pull Up | Grip a bar with your hands shoulder-width apart, keep your body straight, and pull yourself up until your chin is above the bar. |
| 2 | Horizontal Pulls (Straight Bent) | Lie under a bar, grip it with your hands shoulder-width apart, keep your legs straight, and pull your chest to the bar. |
| 3 | Horizontal Pulls (Knees Bent) | Lie under a bar, grip it with your hands shoulder-width apart, bend your knees, and pull your chest to the bar. |
Squats Progressions
| Rank in Difficulty | Exercise | Description |
|---|---|---|
| 1 | Full Squat | Stand with your feet shoulder-width apart and lower your body until your thighs are parallel to the ground. |
| 2 | Half Squat | Stand with your feet shoulder-width apart and lower your body halfway to the full squat position. |
| 3 | Half Wall Squat | Perform a half squat with your back against a wall. Lower yourself halfway to the full squat position. |
| 4 | Assisted Squat | Use a support like a chair or railing to assist in lowering and raising your body. |
Leg Raises Progressions
| Rank in Difficulty | Exercise | Description |
|---|---|---|
| 1 | Flat Straight Leg Raises | Lie on your back, lift your straight legs to a vertical position. |
| 2 | Flat Bent Leg Raises | Lie on your back, lift your bent legs to your chest. |
| 3 | Flat Knee Raises | Lie on your back, lift your knees to your chest. |
| 4 | Knee Tucks | Lie on your back, tuck your knees to your chest, then extend your legs straight. |
Bridge Progressions

| Rank in Difficulty | Exercise | Description |
|---|---|---|
| 1 | Straight Bridge | From a seated position, lift your hips and straighten your body, forming a straight line from your shoulders to your knees. |
| 2 | Partial Bridge | From a seated position, lift your hips partially off the ground. |
4 – Over to You!
Your goal is to improve your test standard within 30 days. It doesn’t matter if you start the routine with easier versions of each exercise. What matters is that you’re building the proper calisthenics form and strength.
Moreover, since you’re beginning each session with the standard version of each exercise until you lose form, you’ll make big strides within the four weeks of training.
Ready? Set. Go!
Note: This calisthenics routine is inspired by the fundamentals in ‘Convict Conditioning’. To continue your training, I recommend the following program…
The Body Basic Training program
(School of Calisthenics)
Master pull-ups, dips, squats, and more. It’s all about movement, strength, and play.
This is my top recommended calisthenics program by the School of Calisthenics.